
Making natural yeast is much more than making yet another recipe. Making natural yeast means to declare a true and deep love for things well done and for the time that you need to have them. Natural yeast becomes good as times passes by. The more it gets older the more it gets good. I personally believe that, amongst all possible recipes, natural yeast is the mother of all. You cannot define yourself a food lover if you have not been through this slow process of attention to details, patience, and respect of timing and the flow of cycles. Work it for at least 2 months before using it!
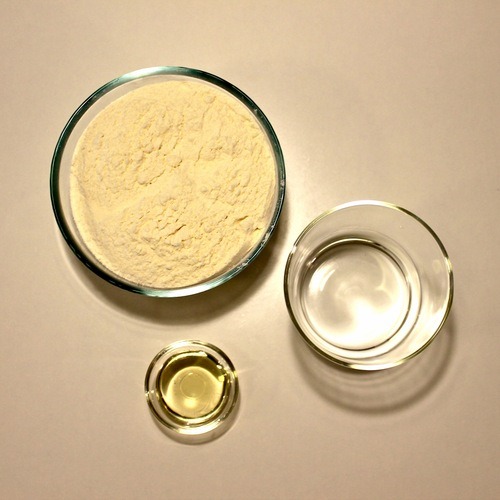
150 grams strong flour
80 ml water room-temperature
1 tsp honey
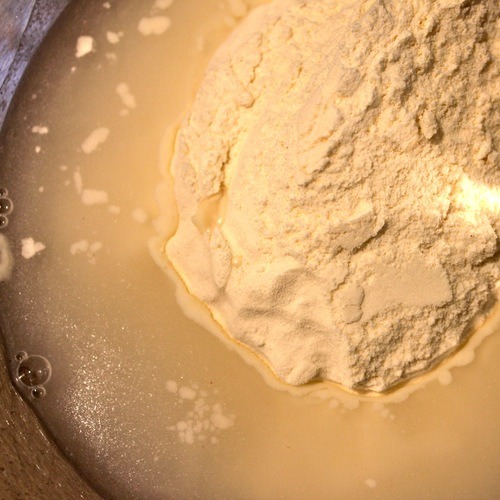
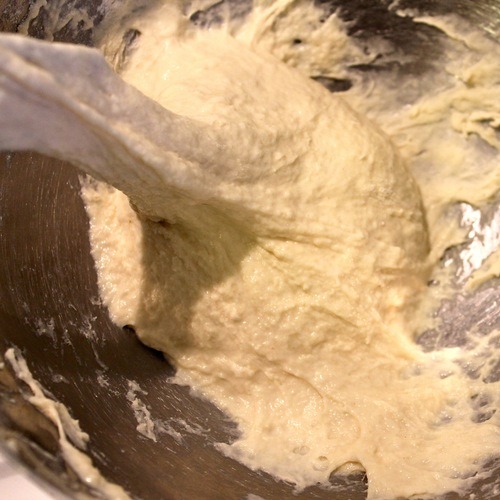
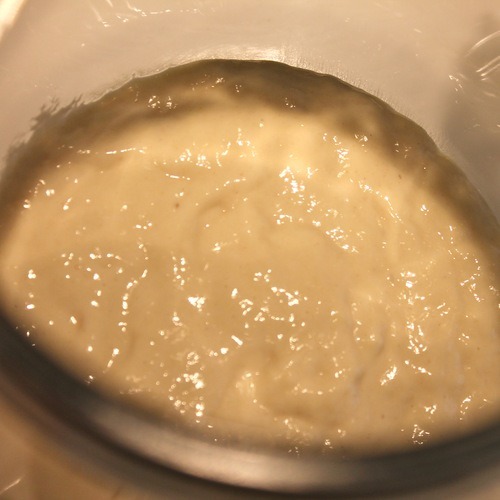
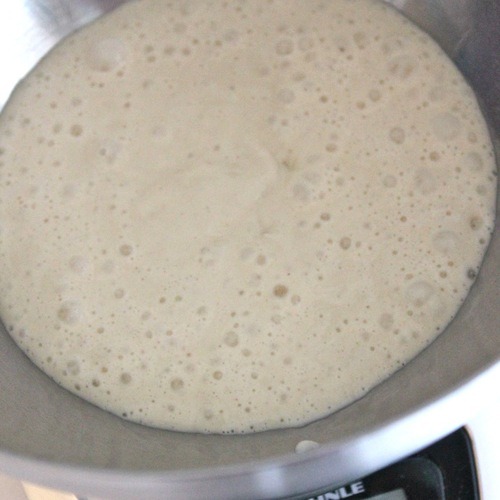
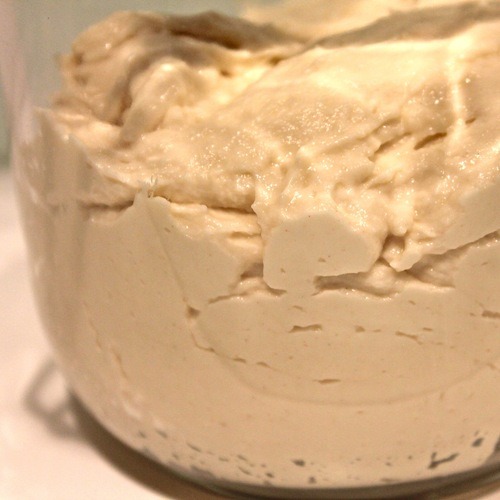
Mix all the ingredients together until creamy and smooth.
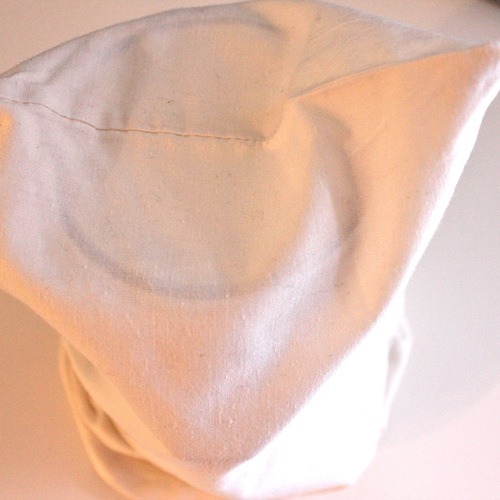
Put in a container three times as big as the yeast quantity (use a glass container not a plastic one) and cover with a cloth. Set aside in a warm place (temp. should be 19°-27°C) for 2 days.
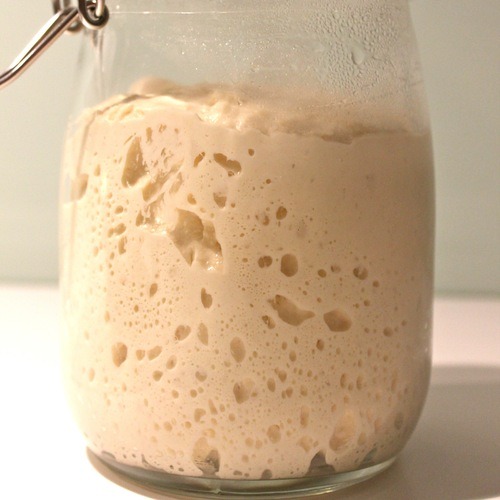
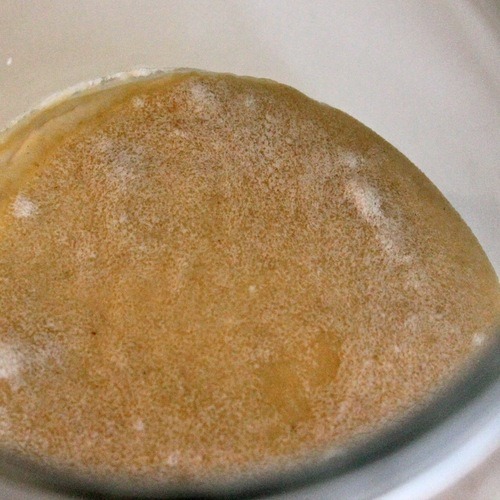
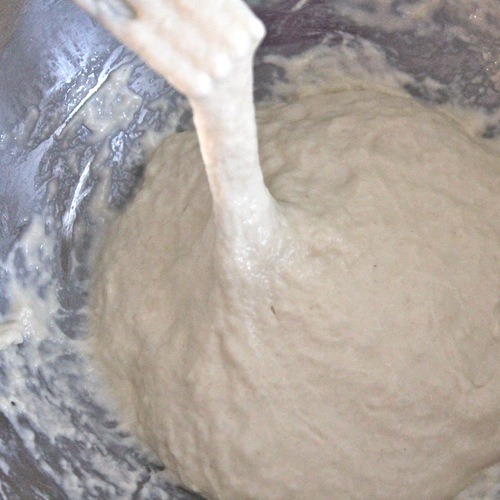
After 2 days the mixture will be like this:

The Refresh
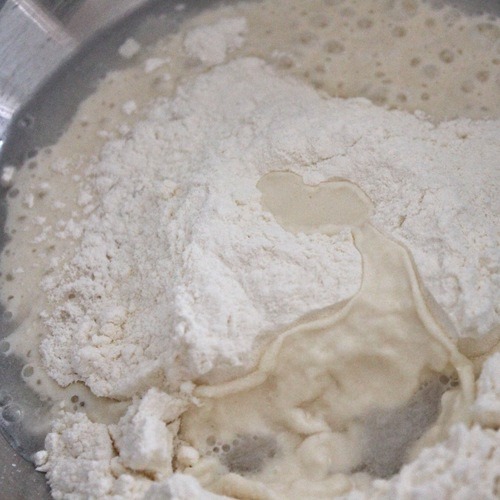
Weight the dough (after having taken off the dry parts), retain 200 or250 gr (no more than that – at the beginning you will have (alas!) to throw away the exceeding yeast), add same weight of flour (200 or 250 gr) and half of the weight of the yeast of water (100 or 125 gr).*
REFRESH 1 / At the second day refresh it, retain 200 or 250 gr of yeast, add 200 or 250 gr of flour and 100 or 125 gr of water. Mix well, put it back in the container and set a side same temperature as above for other 2 days.
REFRESH 2 / After these other 2 days, refresh it again as per step 1.
REFRESH 3 / After these other 2 days, refresh it again as per step 1.
REFRESH 4 / After these other 2 days, refresh it again as per step 1.
REFRESHES 5-6-7-8-9 / From now on you will need to refresh it daily for 5 days.
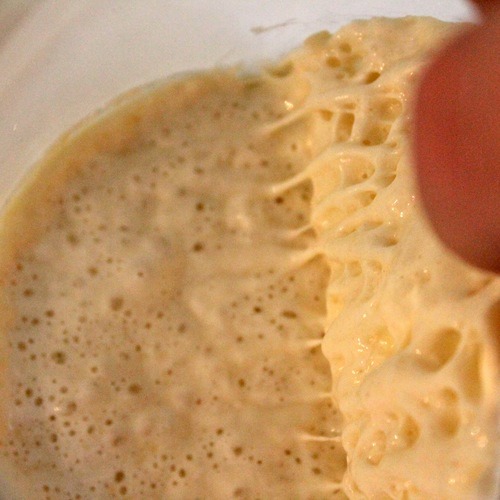
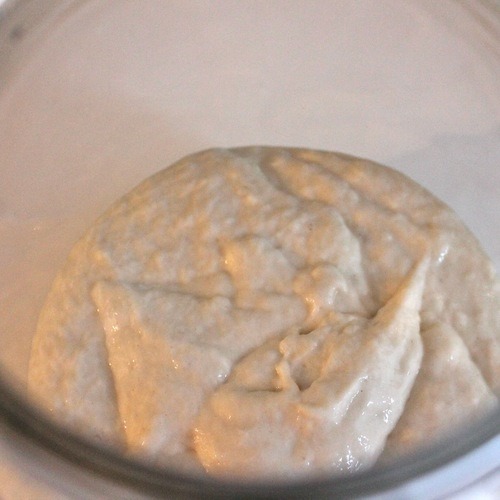
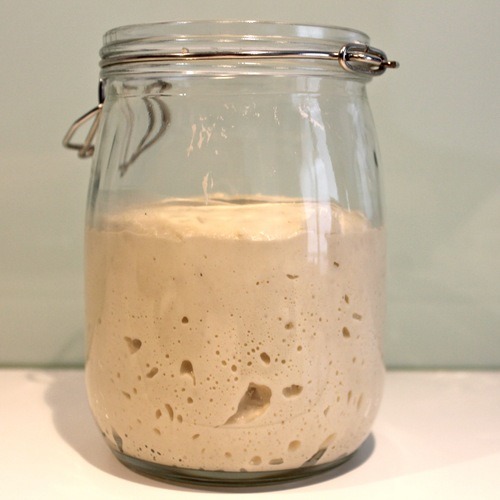
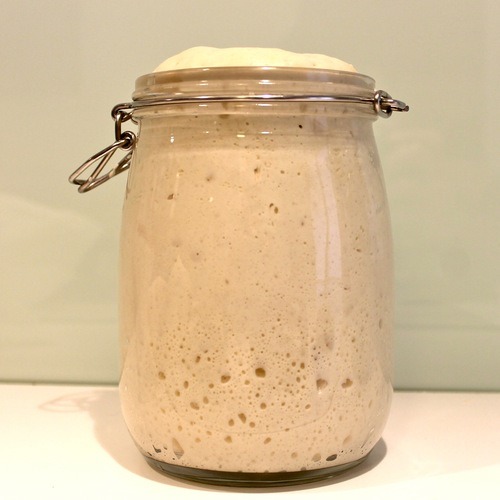
The more the natural yeast is ageing the quicker it will be the rising. A healthy and good natural yeast is the one that doubles its size in 4 hours (see pictures below).
NOTE:
The yeast after the rising moment will start to become acid. It means it is ‘hungry’. Do not refresh it before and stick to the timing given above. The acidity prevents it from mould and preserves it.
At this stage the natural yeast is ready and it will live forever if you refresh it as indicated below.
PRESERVATION
According to the use you can store in the refrigerator if you use it weekly or daily or you follow. You wrap and tie it up or dry it out if you use it less often. Check below:
METHOD 1
REFRIGERATOR
Weekly REFRESHES
You can preserve it in the refrigerator and you will need to refresh it once a week. Before refreshing it take out from the refrigerator and wait 30 minutes. Refresh it (see above) and wait 1H before putting it back in the fridge.
METHOD 2
WRAPPED
REFRESH EVERY 20 DAYS
After the refresh put the dough into a clean cloth and close it tight (also, tie it up with some kitchen twine giving it a bit of room but not too much). After 20 days you refresh the heart that will be soft and tender (the pack will be very hard outside). For this method you need to have 1 kilogram of yeast otherwise the heart will not survive.
METHOD 3
DRIED
NO NEED OF REFRESHES BUT NEED TO BE USE WITHIN 1 YEAR.
After 3 or 4 month of activity, and not earlier than 2 days after the refresh, instead of using or throwing away the half of the yeast you do not use, you can simply add double of its weight of flour until the dough becomes very hard and dry. You can then crumble the dough and let is dry open air for 3 or 4 days.
Once dried out completely you can store in air-tight containers and use within 4 months maximum.
USE
When you need it you should refresh it at least twice the day before usage (if you keep in the fridge you should do the same and keep it outside of the refrigerator for that day). If you use the wrapped one, peel the exterior of the yeast (it will be hard and use only the heart of it (it will be soft), refresh it at least twice. If you use the dry yeast, you need to add water as half of the weight of the yeast (100 gr yeast > 50 gr water), afterwards proceed with at least 2 refreshes.
When you need it, consider circa 1/5 of the weight of the flour of the recipe you are preparing (i.e. for 1 kg flour you will need 200 gr of natural yeast). If you prepare heavier doughs (such as panettone) add 1/4 (1 kg flour > 250 gr natural yeast).
NOTE: The rising timing is much longer than dry active yeast (consider at least double of the time you would need with dry yeast).
NOTE: Use always the same flour otherwise it will die. If you need to change the flour you have to mix the usual flour with 20% of the weight with the new one and continue slowly to add another 20%, etc. In 5 refreshes the yeast should be adapted and you should have a new yeast with the new flour. If you see that it is not rising well, reduce the new flour and take more time to change the flour.